Weiners of Waterton – Waterton, AB

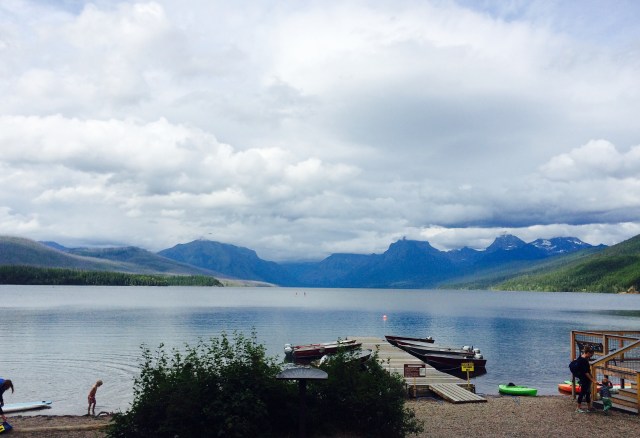
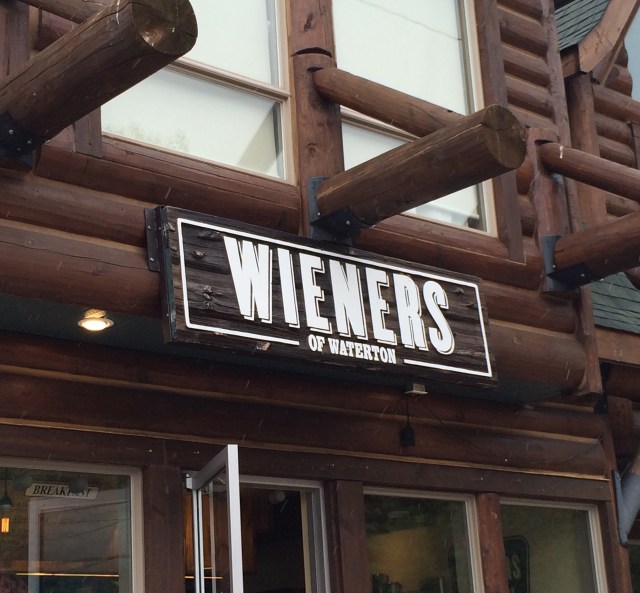
So, I realize that not many people will get the chance to travel to the northern part of Glacier National Park and into Alberta, Canada, but when you have an amazing little restaurant like Weiners, you gotta write about it!  With a winter population of 50 and a summer population of 2,500 Waterton is a beautiful town tucked into the mountains in Waterton Lakes National Park just north of Glacier National Park in Montana.  There are plenty of hikes to take and sights to see – all of which require sustenance along the way.  Weiner’s is the place to find it!

FullSizeRender 9

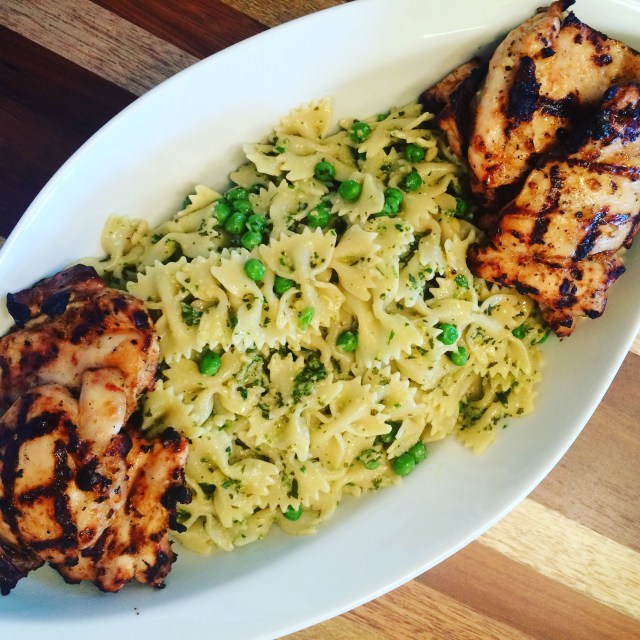
With a small, simple menu and quick service, this tiny restaurant has tons of combinations of all beef hot dogs or homemade sausages to fill the void left by 5 miles of hiking.  I love the hashmarks cut into either before they’re grilled to order.  Oh, did I mention they’re baking their buns fresh all day long??  From a tame dog with mustard or a loaded spicy sausage topped with kimchi and spicy mayo you’ll be hard-pressed to eat the same thing twice!  We tried all sorts of combinations and not a single disappointment was had.

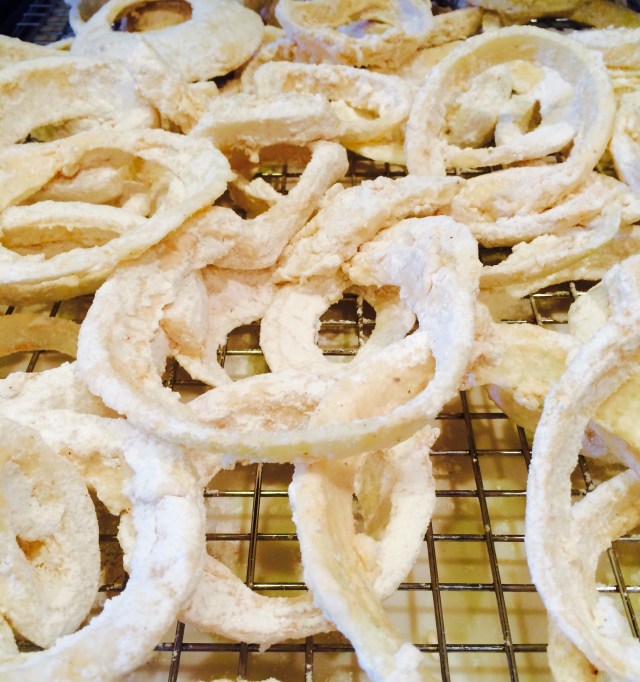
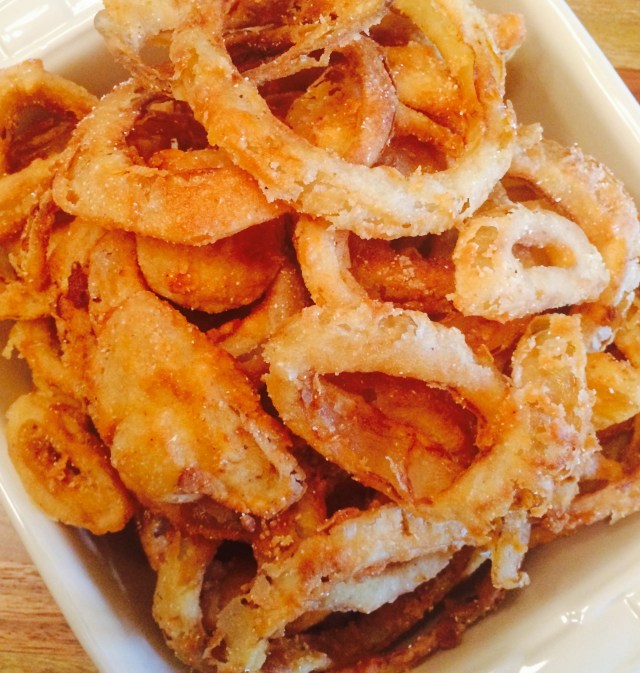
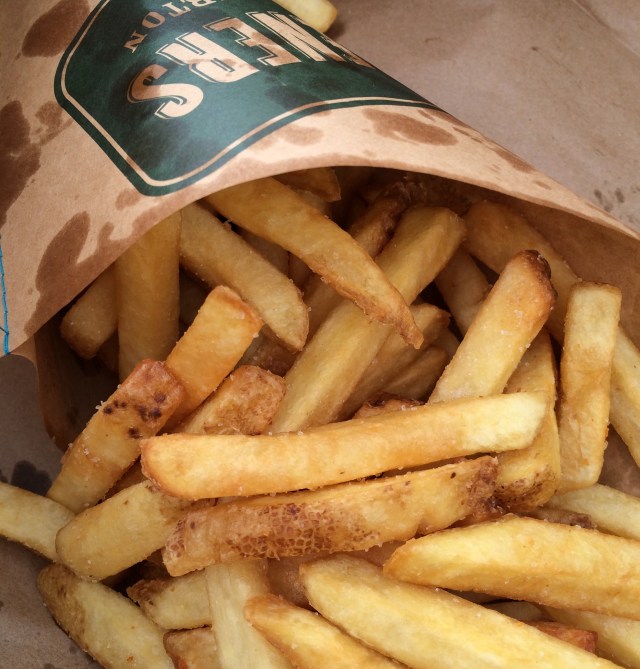
With the weiner selection comes the option of fresh cut fries or sweet potato fries.  They’re hot, crispy and delicious – my uncle said they were the best sweet potato fries he’s ever had!  Again, there’s a great variety of sauces available for dipping – homemade ketchup, spicy mayo, curry…the choices are endless and awesome!  Do yourself a favor and order both and plenty of dipping sauces, it’s totally worth it.

FullSizeRender 8

I’m impressed with the quality and service of this small place in Waterton.  They’re passionate about food, have great service and do everything right in my opinion.  You can eat at a few small counters looking out the windows or take a seat in the cool air on one of many picnic tables out front.  There’s always a fire burning and you’ll never tire of the view.  They’re still building out their web presence, but you can find them on Facebook and  also basic information on their website at weinersofwaterton.com.

Advertisement

Deana’s Green Beans

Like a lot of people, I grew up eating frozen and canned green beans and never knew the unbelievable deliciousness that is fresh green beans cooked with fatty salt pork.  Fortunately, a distant cousin in the family introduced me to them almost 20 years ago and I’ve never looked back!  There’s a few key things to note.  First, only half-runners will do versus any other type of green bean.  The family has grown their own for more than 50 years and this is the tried-and-true variety for the best flavor and tenderness.  Next, there is a very methodical process to harvesting, stringing, breaking and canning.  It’s hard work, time-consuming, therapeutic and TOTALLY worth it!  I’m grateful to have had the opportunity to go through all of it this past weekend and am sharing the super-simple, but the best way to prepare these emerald gems.

FullSizeRender 3

DEANA’S GREEN BEANS

Ingredients

  • 12 Cups Fresh Green Beans
  • 12 Oz Salt Pork, Cubed
  • 2 Tsp Salt
  • 2 Tsp Pepper
  • 1 1/2 Cups Water

Instructions

  • In a colander, wash green beans thoroughly.  Drain well.
  • Place washed beans in a large pot or dutch oven.  Porcelain-coated cast iron works great here.
  • Add salt pork, salt, pepper and water and stir together.
  • Cook on medium-low, covered, for 6 hours stirring every 30 minutes.
  • Green beans will darken in color and soften completely.  Serve and enjoy!  (HINT:  if you don’t have fried chicken and cornbread, you’re probably eating them wrong!)

IMG_1992

Yeah, it’s just that easy.  The key is to put very little water in the pot and allow the pork fat to coat the beans.  I was told by Deana herself that “you should never need a slotted spoon to serve your green beans”.  If these aren’t some of the best beans you’ve ever tasted, tell me how you like them.  I love a fresh bean just sautéed and eaten crisp, but it doesn’t remind me of the hard work done to grow, harvest, prep and can these.  Try these and taste the love!!

Moose’s Saloon – Kalispell, MT

On our recent trip to Montana, we made our first stop at Moose’s Saloon in Kalispell.  Recommended by a couple locals, this mainstay is a must-stop before traveling 30 miles to see the beauty of Glacier National Park.

FullSizeRender 2

Now, you won’t find an ounce of refinement in this place, but that’s how the locals and visitors like it!  A dark loud place, the floors are covered in peanut shells and sawdust while the walls sport graffiti and license plates from the countless numbers that have walked through their doors.  There’s a great selection of beers ranging from your mainstays to local breweries – a lot of them!  Think Huckleberry Wheat or Hat Trick IPA, both were excellent!  And let me tell you, beer is cheap!!  Good thing though, because this is a cash-only establishment.  Get a glass or pitcher, find yourself a seat and crack some peanuts while you read the graffiti on the walls.

IMG_1738

You have to order your food at a window and it will be brought out to you, so there’s not really five-star service here.  What they do have though is pretty good pizza and basic sandwiches.  My roast beef and swiss was nothing special, but a good sandwich on fresh-baked bread.  The salads were good-sized and fresh too.  It was a great starting point for our big group to begin a 10-day wilderness adventure.

IMG_1740

If you get to Northwest Montana and want a true experience, I highly recommend it.  While it’s pretty loud and had a limited menu, the place was packed with families and softball teams so you know it’s definitely a favorite.  And although we won’t get back there often, it’s one of ours now too!

FullSizeRender

Basic Pesto

We’re in the heat of summer and there’s an abundance of basil in my herb pots!  Sounds like it’s time to make some pesto – don’t worry, this is the easiest no-cook sauce in the world and will make you look like a Food Network Star!  Pesto is a versatile sauce that can be used on hot or cold pastas, chicken, fish, pizza, etc.  Start with this super-simple recipe and then let your imagination take you to some tasty places…

BASIC PESTO

Ingredients

  • 25-30 Fresh Basil Leaves, Washed & Dried
  • 1 Small Handful Fresh Parsley
  • 4-5 Cloves Garlic, Peeled
  • 1/2 Cup Extra Virgin Olive Oil
  • 1/2 Cup Pine Nuts
  • 1/4 Cup Grated Parmesan Cheese

FullSizeRender 3

Instructions

  • In a food processor (I have a small one) place basil, parsley and whole garlic cloves.  Pulse several times until chopped evenly.
  • Add olive oil and then pulse again until evenly blended.  Mixture will not be smooth, but herbs and garlic will be finely chopped.
  • Add pine nuts and Parmesan and pulse until mixed thoroughly.
  • Toss with warm pasta and/or spoon over cooked chicken or fish.  The recipe above is good for about 8 ounces of pasta, so you may need to double it for a family meal.

IMG_1969

See, I told you this was easy!  I tossed my pesto with bowtie pasta and peas and served with grilled marinated chicken thighs.  Try it as a base for pizza or a dollop in your tomato soup.  There are a ton of possibilities and a little can go a long way to add a burst of fresh flavor to your recipes.  Also, consider variations of basic pesto by using different herbs and nuts.  What about walnuts with chives and parsley?  Add a little lemon zest and juice to brighten the flavor – especially with fish.  You can also alter the amount of olive oil depending on your preference and flavor intensity you like.  Any way you make it, enjoy it all summer and fall while you have a great supply of fresh herbs!!

Bakersfield – Cincinnati

FullSizeRender

The Over-The-Rhine area of Cincinnati has been wonderfully developed over the last 5 years with a myriad of interesting shopping and food choices.  Chances are, if you’re looking for something in particular, it’s probably there!  Bakersfield was one of the early entrants in the OTR area and they have been wowing people with their Tacos, Tequila & Whiskey since they opened their doors.

IMG_1717

This location has a small patio out front with a large garage door that opens to the street.  The long narrow space provides plenty of seating, but I think we’d all be happier if there was more space in the bar.  The place is dark, loud and surprisingly comfortable.  This is not a spot for a quiet date, but perfect for lunch or dinner with a group of friends.  We started off with a cold beer from their moderate selection as well as a Spicy Margarita.  The latter will light you on fire, but I’d recommend a coupe of these mason jars of lightning to anyone stopping by!  The queso with chorizo was hot, spicy and gooey – the perfect accompaniment to the salty fresh chips.

IMG_1721

The menu has a great selection of appetizers, salads, tortas and tostadas, but they’re know for their tacos.  Order by the taco and sample several from their selection of 9 different varieties.  The food is simple, fresh and beautiful.  Our short rib, fish, steak and corn/blackbean tacos were all delicious!  I meant to try the pork belly, but couldn’t get past the first three I ordered.  I guess that’s a good excuse to stop back soon!

FullSizeRender 2

While we’re proud of our Cincinnati gem, the owners have now opened five more locations in Columbus, Pittsburgh, Nashville, Indianapolis and Charlotte.  You can read all about them and view the menu at bakersfieldtacos.com.  You can also check out their feature from Diners, Drive-Ins and Dives here.  Take a look, stop on by and be sure to bring your big-boy pants to have a Spicy Margarita!

Crispy Onion Rings

I have an undeniable love of french fries of any sort, but a crispy sweet onion ring takes fried sides to a whole new level!  Aside from the mess of frying and the oil cleanup, these onion rings are super-easy to make and turn out perfect every time.  A short bath in buttermilk takes the bite away from the onions and creates a great base for the crispy coating.  Give them a try for your Fourth of July weekend picnic or the next time you’re grilling burgers or steaks!

CRISPY ONION RINGS

Ingredients

  • 2 Large Sweet Onions
  • 1 1/2 Cups Buttermilk
  • 2 Tsp Hot Sauce
  • 2 Cups All Purpose Flour
  • 1/2 Cup Ground Cornmeal
  • 1 Tsp Salt
  • 1 Tsp Black Pepper
  • 1 Tsp Garlic Powder
  • 6 Cups Canola Oil

FullSizeRender 2

Instructions

  • Peel onions and cut into 1/2 inch slices.  Separate rings and place into a large bowl.
  • Pour buttermilk and hot sauce over the onions and toss to coat evenly.  Place in refrigerator for 1-3 hours.
  • In a bowl or cake pan, combine flour, cornmeal, salt, pepper and garlic powder.  Mix well to distribute spices.
  • Remove onions from buttermilk, about 5 at a time, and dredge in flour mixture.  Shake excess off and place onions on a wire rack.  Continue until all onions are floured and placed on rack.  You can stack these, they won’t stick together.  Allow floured onions to sit for 30 minutes – this will ensure that they stay breaded during frying.
  • Fry onions in 350 degree canola oil for 3-4 minutes until golden brown.  Turn if necessary and don’t over-crowd your frying oil!
  • Drain fried onions on paper towels and lightly salt.  You can keep them warm on a cookie sheet in a 200 degree oven while you cook them in batches.

FullSizeRender 5

You’ll be a hero when you fix these for your family and friends at your next gathering!  Try alternatives to the spices in the flour mixture or share your best dipping sauce with me.  I’m a ketchup guy with my rings, but I’m open to new ideas!  Either way, I’ve never met a ring I didn’t like…

Beer Butt Chicken

I’ve tried making beer butt/can chicken more times than I can remember over the past 10 years.  From crushed cans to underdone dark meat, I’ve made plenty of mistakes.  I’ve even read that the actual process supposedly imparts no flavor on the finished product.  Let me tell you, I have perfected the process and am telling you that this is some of the best chicken you will ever have!!  From the initial brine to the cooking liquid, your birds are assured to be moist, tender and full of flavor.  Give this recipe a try and you’ll believe me.

BEER BUTT CHICKEN

Ingredients

Brine

  • 4 Cups Water
  • 1/2 Cup Kosher Salt
  • 1/4 Cup Sugar
  • 1 1/2 Tbs Black Peppercorns
  • 1 Whole Lemon, Quartered
  • 3-4 Bay Leaves

IMG_1709

Chickens

  • 2 Whole Chickens, 4-5 Lbs Each
  • 4 Tbs Ultimate Roast Chicken Rub or Similar
  • 2 Cans Crispin Hard Cider
  • 1/2 Cup Apple Cider Vinegar
  • 6 Sprigs Fresh Thyme
  • 6 Sprigs Fresh Parsley

FullSizeRender 3

Instructions

  • In a small saucepan over medium heat, combine all of the brine ingredients and stir until completely dissolved.  Remove from heat and set aside.
  • Rinse chickens thoroughly and place in a large pot or jumbo size ziplock bag.  Cover them with ice cubes (about 25-30) and then pour brine over top of chickens.  Add enough tap water to make sure that they are covered completely.
  • Seal and allow to soak in brine in the refrigerator for a minimum of 4 hours and a maximum of 24 hours.  The longer the better, but even 4 hours will do a lot to flavor and tenderize your birds.
  • Remove chickens from brine, rinse thoroughly and pat dry.  Discard brining liquid.
  • Use Ultimate Chicken Rub or your favorite rub mixture to coat birds inside and out.
  • I have “beer butt stands” that I can pour cider, vinegar and herbs into.  If you don’t have these, pour about a quarter of the cider out of each can, add half of cider and herbs to each can.
  • Slide birds over your cider can or stand.  Either tie a piece of cooking string around the wings or create 2 “pockets” in each bird that you can tuck them into.  Place on a charcoal grill – you can cook with or without wood chips for smoke or on a gas grill as well.  Cook offset from heat for 2 1/2 to 3 hours at 275 degrees.  Skin should be nicely browned and juices should run clear.
  • Remove from grill, place on a cookie sheet and cover with foil.  Allow to rest for 15-20 minutes.
  • Carve into pieces or de-bone and serve.

FullSizeRender 4

FullSizeRender 6

This recipe is pretty simple, but you have to know your grill and make sure these birds are cooked through.  Use a meat thermometer and make sure the internal temp gets to 165 degrees.  I take it off the grill between 155 and 160 and let the temp continue to rise while it’s covered with foil off the grill.  There are many variations you can try once you master the process of brining and cooking “beer butt style”.  I like using beer, but the hard cider really imparts apple flavor that you can taste in the chicken.  Try experimenting with different flavors in the brine, the rub or the cooking liquid.  I’d love to hear your ideas!  Also, please click on the links above to find out where you can get the Ultimate Roast Chicken Rub and the Beer Butt Stands.  Happy grilling!!