Pimento Cheese Pinwheels

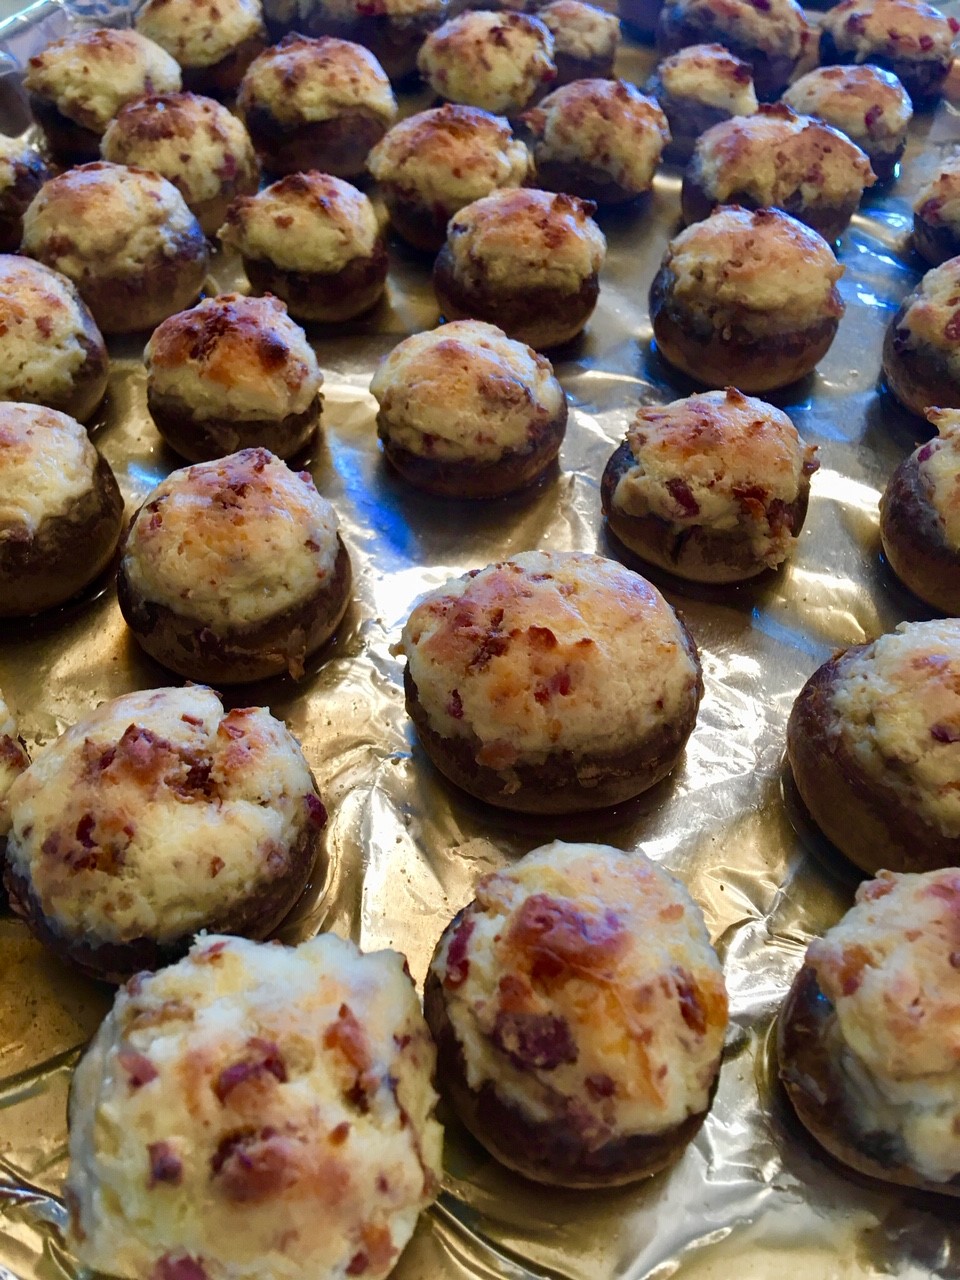
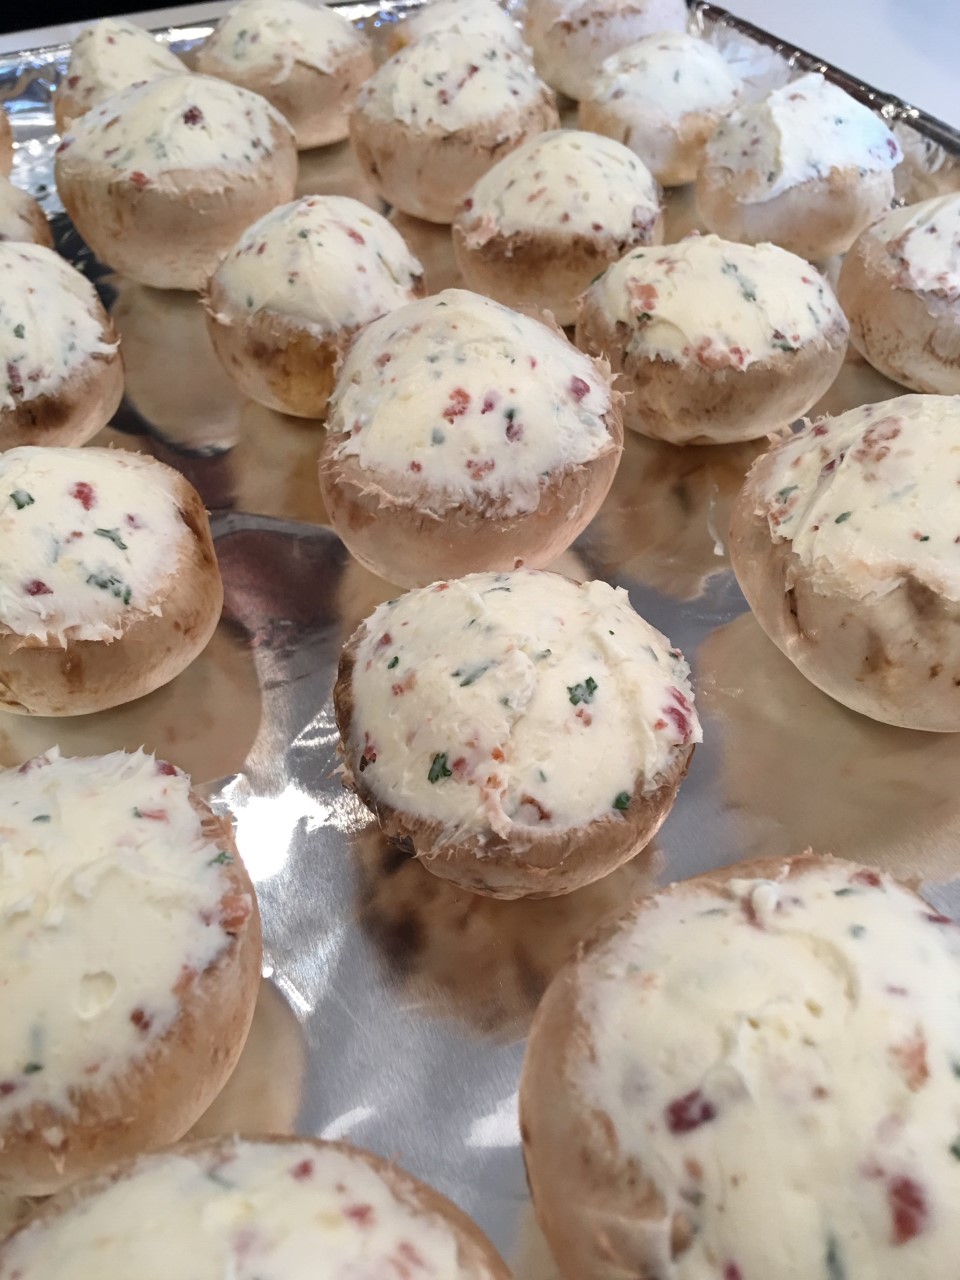
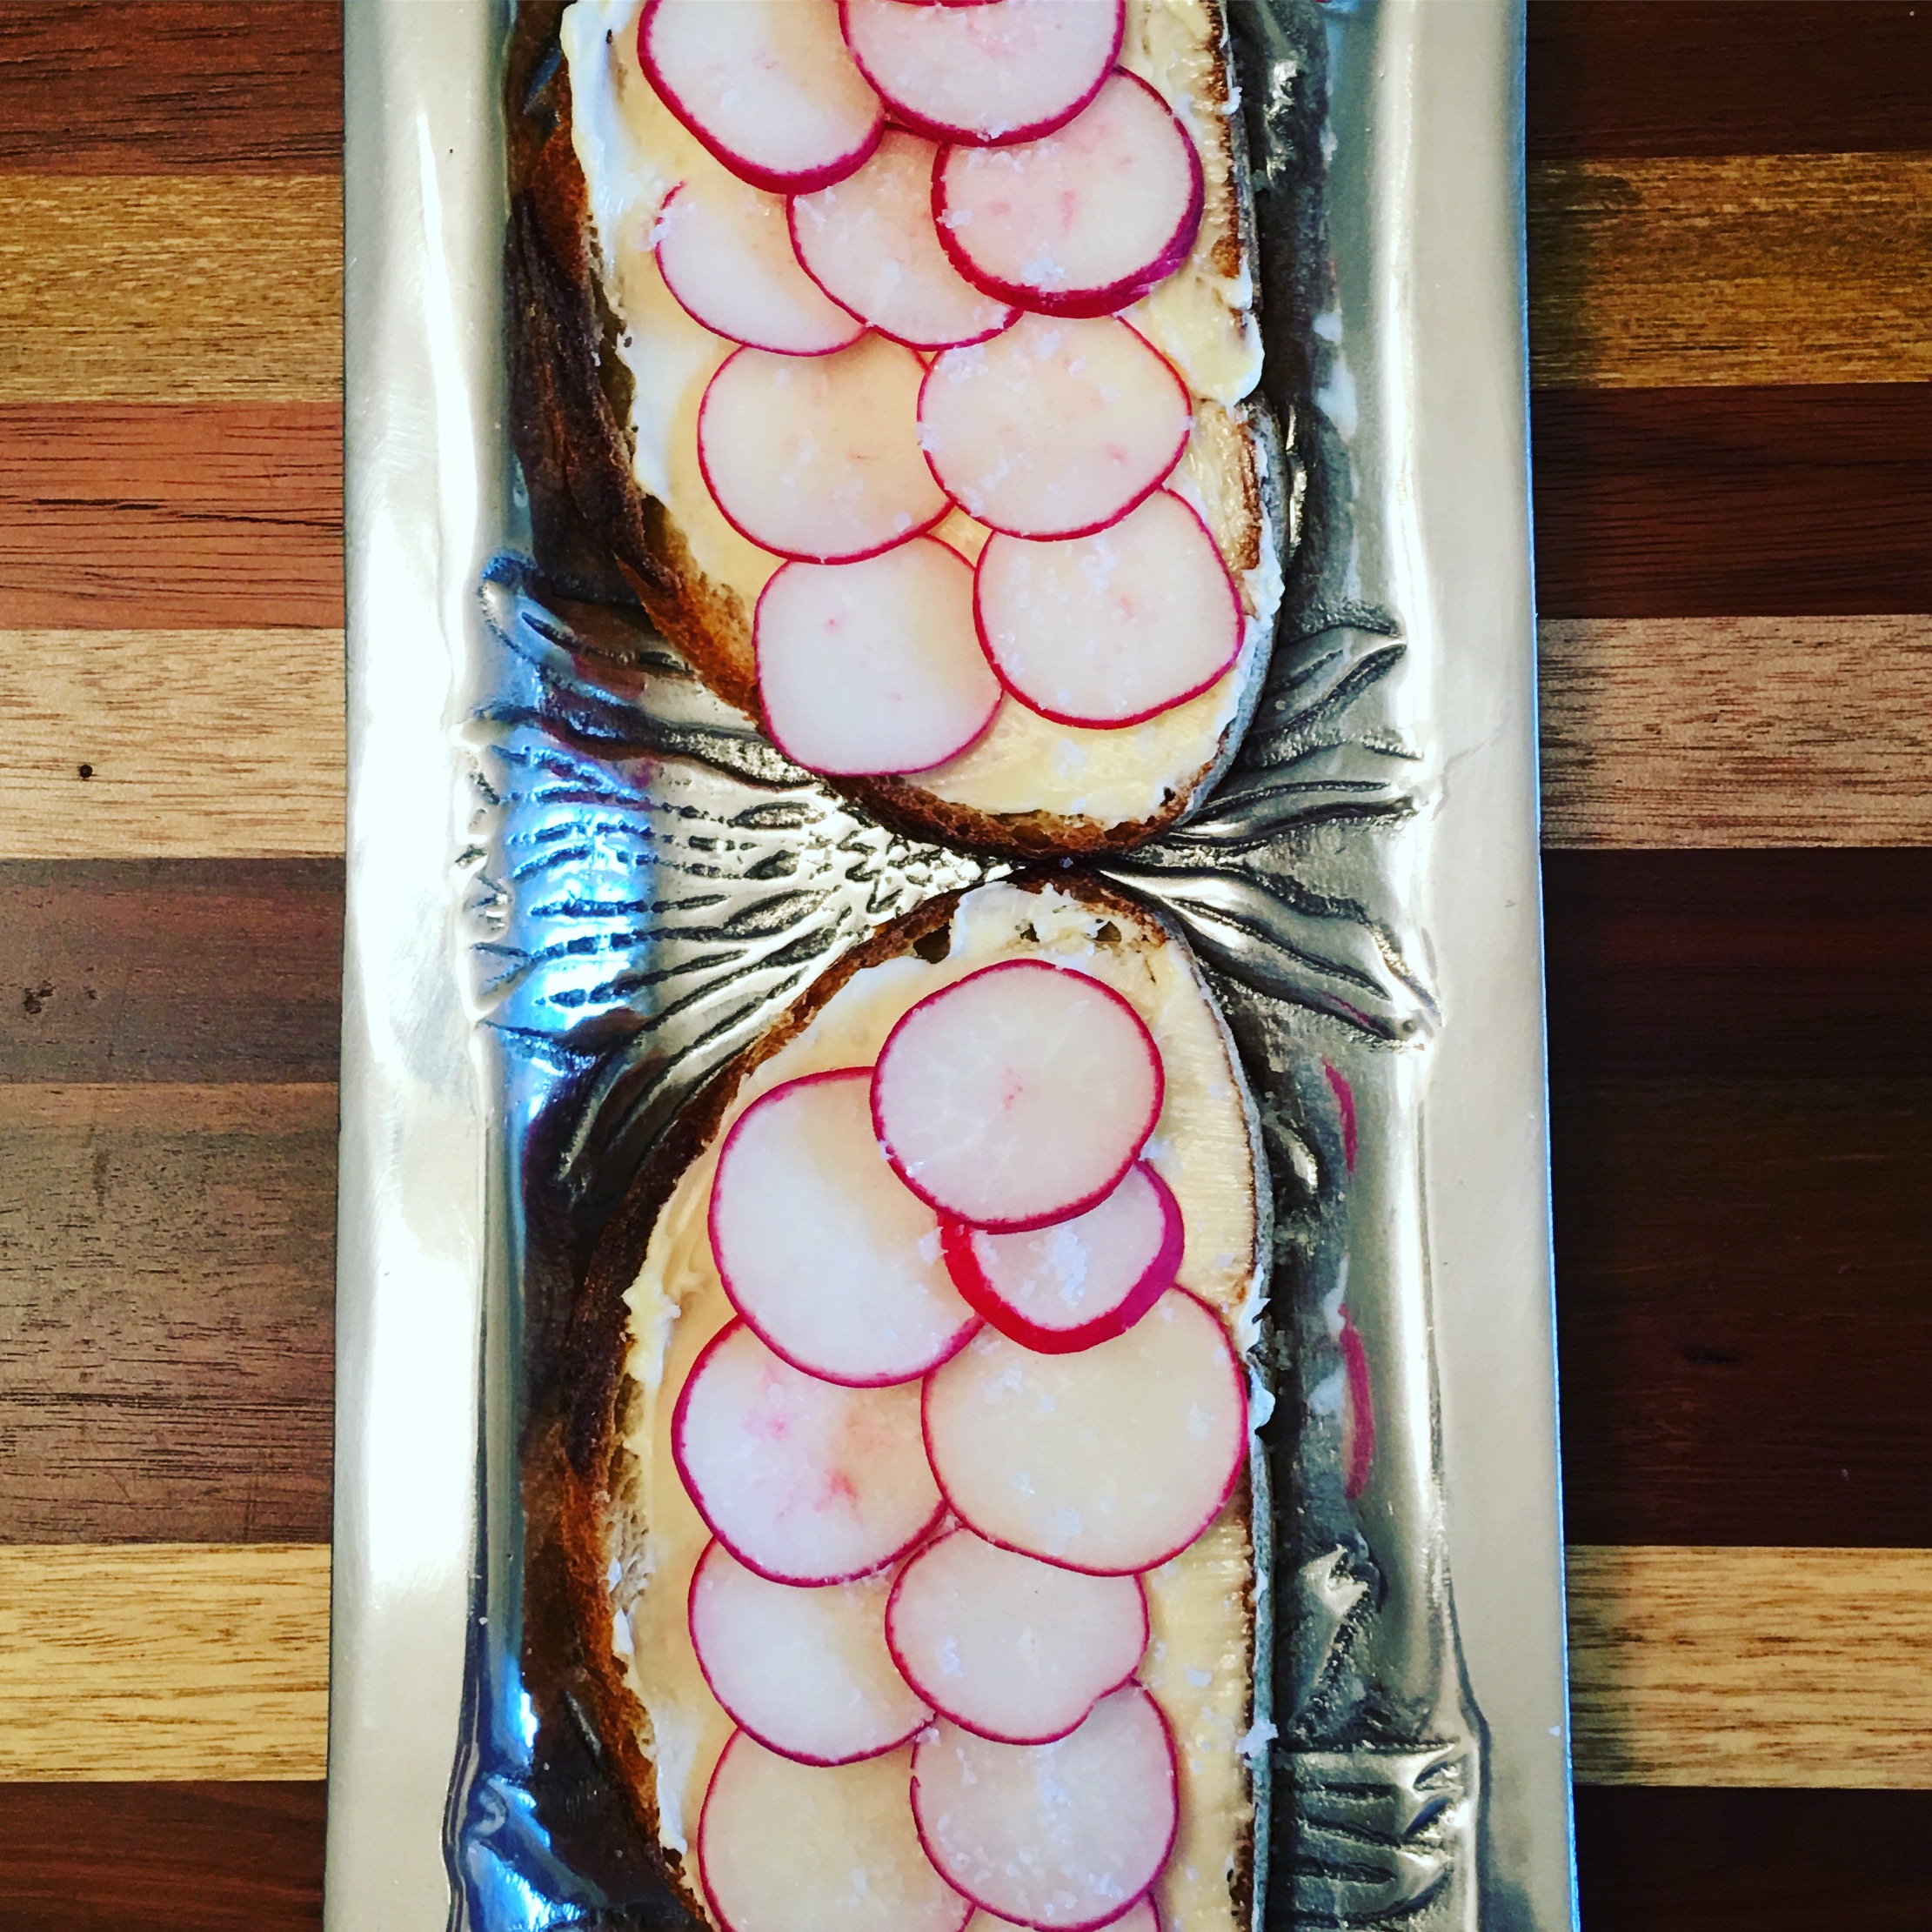
We’ve had a few private events at my wife’s boutique lately and we’re getting a little tired of charcuterie boards. OK, maybe making them, but I’ll eat one any day for breakfast lunch or dinner! I was looking for easy finger food that was easy to make, was a little salty and still looked great on a table. Enter, the pimento cheese pinwheels. Check out the easiest “fancy” recipe below.

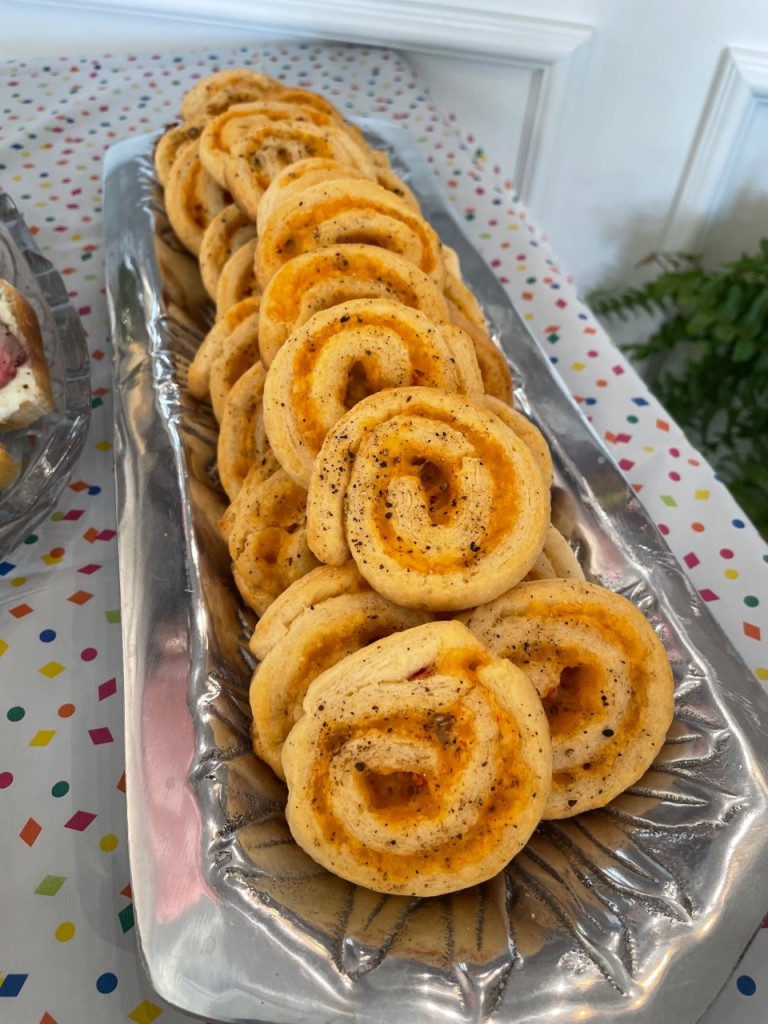
PIMENTO CHEESE PINWHEELS

Ingredients

  • 1 Tube Crescent Rolls
  • 8 oz. Pimento Cheese Spread (or jalapeno version)
  • Fresh Cracked Black Pepper

Instructions

  • Preheat oven to 375 degrees.
  • Open crescent rolls and unroll into a single sheet. You used to be able to just buy them as a sheet, but I haven’t seen them in the store lately. Pinch all seams to make one solid sheet. Use your hands to even out roll to an even layer.
  • Spread pimento cheese in a thin layer all the way to the edge closest to you and sides. Leave about a half inch at the far end of the sheet. You can use store-bought pimento cheese, jalapeno pimento cheese or my homemade version: https://knifeandforkliving.com/2016/05/27/pimento-cheese-dip-and-blt-dip/
  • Starting with edge closest to you, roll crescent sheet tightly. Put into fridge for 15-30 minutes to firm up.
  • Remove roll from fridge. Using a sharp serrated knife, slice thinly – about 1/2″ slices.
  • Place each slice on a parchment-lined baking sheet about an inch apart. Sprinkle slices with fresh cracked black pepper – more or less to taste.
  • Bake 8-10 minutes until edges are golden brown.
  • Serve immediately or store for up to 24 hours in an air-tight container before serving.

These salty/spicy snacks are super easy and go great with your favorite cocktail! While not a ton of effort, you may be short on time for the big game or other event. Bake them in the morning or even the day before. Anything longer than that and the texture changed and they’re just not as good. Either way, dig in!

Advertisement

Bacon Parmesan Stuffed Mushrooms

I’m constantly looking for and creating new small bites for holidays, parties, Sunday suppers, tailgates, etc.  Who doesn’t love an afternoon or evening of cocktails, cold beer and appetizers??  I like to make things that don’t require a ton of work, but taste like a million bucks with the convenience of friends/guests being able to grab-and-go with something.  Think of it as “what can I pick up and eat while never putting my drink down”!  Behold, the best stuffed mushrooms below…

thumbnail_image1

BACON PARMESAN STUFFED MUSHROOMS

Ingredients

  • 2 Quarts White Button Mushrooms
  • 2 8-ounce Bricks Cream Cheese
  • 6 Ounces Real Bacon Bits
  • 1/2 Cup Grated Parmesan Cheese
  • 1 Tbs. Parsley Flakes
  • 1 1/2 Tsp. Garlic Powder

thumbnail_IMG_1582

Instructions

  • Lay out cream cheese to bring to room temperature.
  • Preheat oven to 375 degrees.
  • Wash and stem mushroom.  If there are thick ribs on the underside, scoop out with a spoon.  Place on paper towels and blot dry.
  • In a medium bowl, use a hand mixer to mix cream cheese, bacon bits, parmesan and garlic powder until well combined.
  • Using a spoon, fill and smooth a teaspoon or more of filling in each mushroom.  These should be mounded, but not overfilled.  A good rule of thumb is that the filling should be about 1/3 to 1/2 the size of the mushroom cap.
  • Continue filling and place mushrooms on a large foil-lined baking sheet.
  • Bake mushrooms at 375 degrees for 30-40 minutes until the mushrooms are cooked and the filling has browned on top.
  • Remove from oven and serve immediately.  These can also be transported but place a few paper towels in the bottom of your contained as they will seep liquid as they cool.

You’re going to love the earthy, creamy and salty bite of these mushrooms!  The recipe above will fill a large cookie sheet, but you can easily cut this recipe in half or double it depending on your event.  Oh, and if you have any filling left over, it’s ridiculously good on a toasted everything bagel.  Now go get that party started.  Dig in!

Creamy Chive Bacon Bites

We’re approaching the first big picnic weekend of the year and that means a lot of requests for side dishes, desserts and appetizers.  For a little something unique, easy to pick up and eat and not too tough to make, try these bacon bites.  Salty crispy bacon surrounds soft bread rolled with chive cream cheese provide the perfect balanced bite with a cold beer or chilled rose on a sunny afternoon!

CREAMY CHIVE BACON BITES

FullSizeRender 14

Ingredients

Instructions

  • Preheat oven to 375 degrees.
  • Remove bread from bag and cut off all crusts using a serrated knife.  I like to use this specific brand of bread because it’s thin-cut, but still sturdy enough to hold up to this recipe.  Plain white bread tends to turn to mush so don’t skimp here.
  • Allow cream cheese to soften or microwave for 20 seconds to make spreadable.  You can certainly make your own by adding 2 Tbs. fresh-chopped chives to 8 ounces plain cream cheese.  I just bought the stuff flavored at the store to keep it easy this time.
  • Spread a thin layer of cream cheese on a slice of bread and roll tightly.  You can push down slightly and roll with your palm to make sure it’s tight.  Continue until you’ve used all of the bread.
  • Cut bread rolls in half.
  • Using kitchen shears, cut bacon slices into thirds.
  • Wrap a third of a bacon slice around each bread roll and secure with a toothpick.
  • Place all finished rolls onto a cookie sheet and bake in the oven for 30-45 minutes turning once through the cooking process.  The bacon should be rendered, brown and crispy.  Be careful not to overcrowd the pan or they won’t crisp nicely.
  • Remove from oven and serve immediately.  These also hold up well in an insulated baking dish to take somewhere.

Your family and friends will love these tasty bites!  The bread soaks up some of the bacon grease and browns on each end to give you a little crouton texture along with the creamy middle.  With the toothpicks already inserted they’re a great grab-and-go snack for Memorial Day picnics or any other entertaining you’d like to do.  Dig in!

Spring Radish Toast

Spring brings a multitude of fresh vegetables and one of my favorites is spicy radishes.  As a snack, on a salad or in this simple recipe, the crunch and sharp bite are something I crave!  Here, they are the star of the show and a different preparation than you may have tried.  I know you’ll love it as much as I do though!

FullSizeRender 4

SPRING RADISH TOAST

Ingredients

  • French Country White Bread or Baguette
  • 8-10 Spring Radishes
  • 1 Stick Unsalted Butter, Softened
  • Fleur de Sel

Instructions

  • Cut bread into 1/2-inch thick slices.  Place on a baking sheet and toast lightly under a broiler.
  • Remove from oven when light golden brown and allow to cool.
  • Wash, trim and slice radishes into 1/4-inch slices.  Set aside.
  • Use a knife or spatula to spread a visible layer of butter on each toast.  You’ll want the toast cool so the butter doesn’t melt.
  • Arrange radish slices in a single layer on top of each slice.
  • Sprinkle with fleur de sel and serve immediately.

IMG_0856

There’s just something about the crusty bread, creamy butter, spicy crisp radishes and crunchy salt that makes the perfect bite!  This is a wonderful appetizer or finger sandwich for a shower or party.  Elegant and rustic at the same time, you’ll want to make them again and again.  Dig in!

Breakfast Quesadillas

Feel like heading a little south of the border for breakfast?  In honor of Cinco de Mayo last weekend, I made these simple quesadillas.  Gooey cheese, salty bacon and creamy scrambled eggs are the perfect filling for a crispy tortilla.  The filling possibilities are endless – try these next weekend and change up your morning routine.

FullSizeRender 10

BREAKFAST QUESADILLAS

Ingredients

  • 4 8-inch Flour Tortillas
  • 4 Eggs
  • 1/4 Cup Milk
  • 8 Strips Crispy Bacon, Crumbled
  • 2 Cups Shredded Cheddar-Jack Cheese
  • 3 Green Onions, Chopped
  • Salsa, Hot Sauce and/or Sour Cream For Garnish

Instructions

  • Place eggs and milk in a bowl and whisk until combined.
  • Scramble in a non-stick skillet over medium heat, stirring constantly.
  • Cook eggs until almost dry, remove from heat and set aside in a bowl.
  • Wipe skillet clean and spray liberally with non-stick cooking spray.
  • Place a single tortilla in the skillet over medium-low heat.  Sprinkle entire tortilla with 1/2 cup shredded cheese.
  • On 1/2 of the tortilla, spread out 1/4 of the scrambled eggs, 1/4 of the bacon and green onion to taste.
  • When cheese begins to melt, use a spatula to fold half of the tortilla over onto the side covered in the eggs/bacon.
  • When the bottom is golden brown, flip over entire tortilla to brown the other side.
  • Remove from heat, cut into thirds and serve with your favorite toppings/sides.

One of these is enough for one person so this recipe makes enough for four.  Like a little spice?  Try using chorizo, roasted poblanos and pepper jack cheese.  You can also use sausage and green peppers.  There’s really no limit, but keep the proportions right or it won’t close properly.  Do you have a brunch coming up?  Double this recipe and place wedges in a warming tray for a perfect buffet finger food.  Let me know what combinations you come up with – I’d love to hear your ideas!  Dig in!